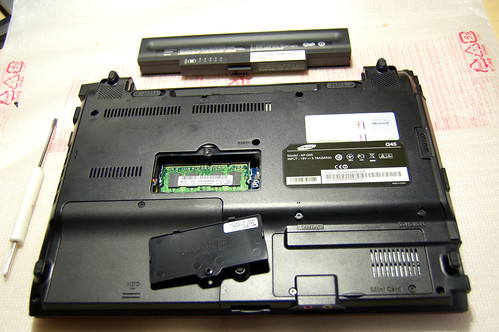
Anyhow - after getting my new laptop, it was obvious pretty quickly that I'd want to upgrade the RAM 'cos Vista's quite keen on caching all kinds of things. I got a pair of 1GB DDR2 SODIMMs from Crucial, and set about replacing the memory that was already installed.
One module is in a very convenient location - underneath an access panel on the base of the laptop: (Battery removed to make sure I had no chance of turning it on by mistake!)
The other one, however, is underneath the keyboard! The keyboard itself is held in place with a variety of fasteners -
- Two spring-loaded catches: one below the start button, and the other below the Ctrl key
- Some moulded plastic nubs: two on the left hand side of the 'board, and one on the right
- Four screws, whose heads are accessed from the underside anywhere it's marked "KBD"
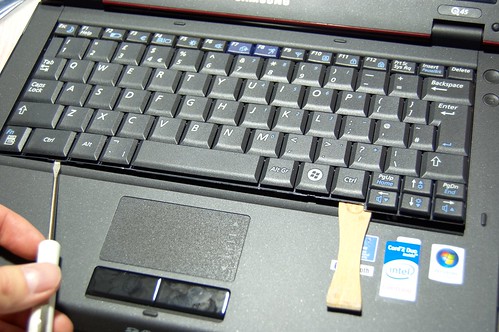
I found that the front right was relatively easy to lift, but the left hand side was more difficult. If you're trying this yourself, then please take your time! It's inevitable to cause the keyboard to flex a bit, but if you rush it and crack something, it's not my fault! Also, beware of the thin ribbon cable that connects the keyboard to the laptop - there's not much slack.
Anyway, with the keyboard up, it's a simple matter to remove the SODIMM and put in the new one.
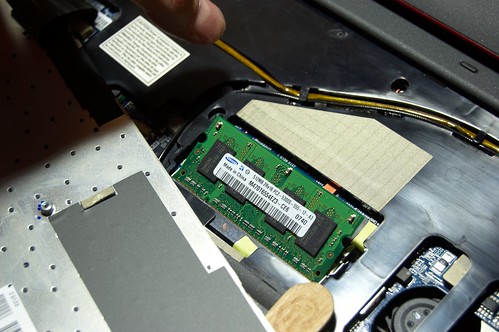
As they say in that oh-so-understated way in a Haynes manual, reassembly is the reverse of removal !
No comments:
Post a Comment